How To Keep Fried Chicken Crispy
Nothing beats the satisfying crunch of some delicious fried chicken. However, especially when making your fried chicken at home, one of the hardest things to do is to keep that fried chicken crispy.
Firstly you have to create that crunchy crispiness in the first place, and then you need to know how to keep that crunch if you plan on storing and then reheating your fried chicken.
To really make some crispy fried chicken, it’s imperative that you take the time and prepare your chicken in the right way. The next step is to cook your fried chicken in a way designed for maximum crunch.
And then, you need to know how to store your fried chicken so that it will still be crispy when you go to reheat it the next day.
Preparation For Crispy Fried Chicken
You need to prepare and fry your chicken in just the right way in order to make your own crispy fried chicken. Following are the steps you should take when next making fried chicken at home.
Firstly, like any other meat, you should never cook your chicken straight away when it’s just come out of the freezer or even the refrigerator. You’ll want your chicken to be defrosted, but you also want it to lose the chill of the refrigerator before you begin the next part of the process.
Leave your defrosted chicken pieces at room temperature for about half an hour or so before breading. This will help it to lose its chill a bit.
How To Coat Chicken For Frying
Once your chicken has lost its initial chill, you want to make sure it is dry before going onto the coating or “breading” process. To do this simply pat down your chicken pieces with some paper towels.
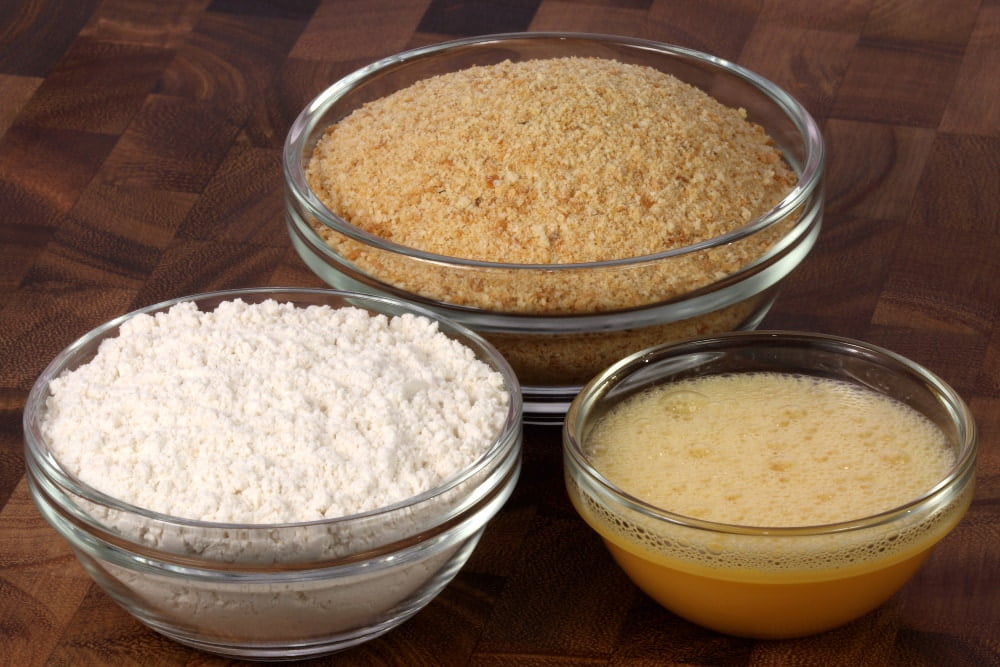
The “breading” or “crumbing” process takes place in a few layers. The first layer can be either cornstarch or flour, or a mixture of both.
This layer of flour gives the actual breading layer something to stick to. Either cornstarch or plain flour (or a combination) is fine – use whichever you prefer or have at hand.
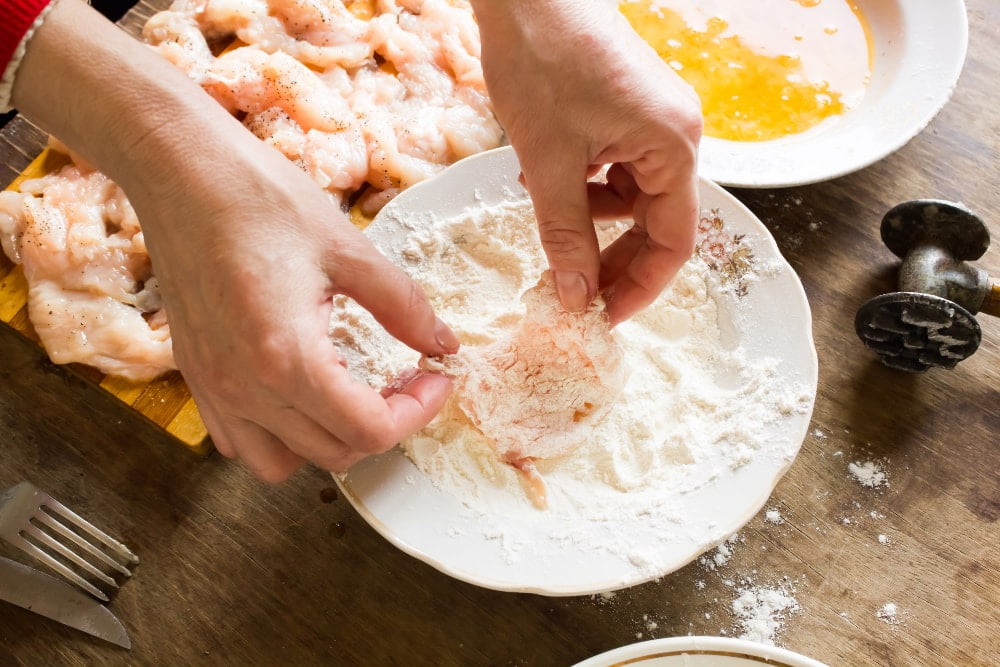
The next step is to dip the chicken pieces into some buttermilk or a mixture of egg and milk. This liquid layer is very important in helping the crumb coating to stick to the chicken in the next step.
It’s the use of both the flour coating and then the egg/milk/buttermilk coating that helps to make sure your breadcrumb coating will stay on while frying.
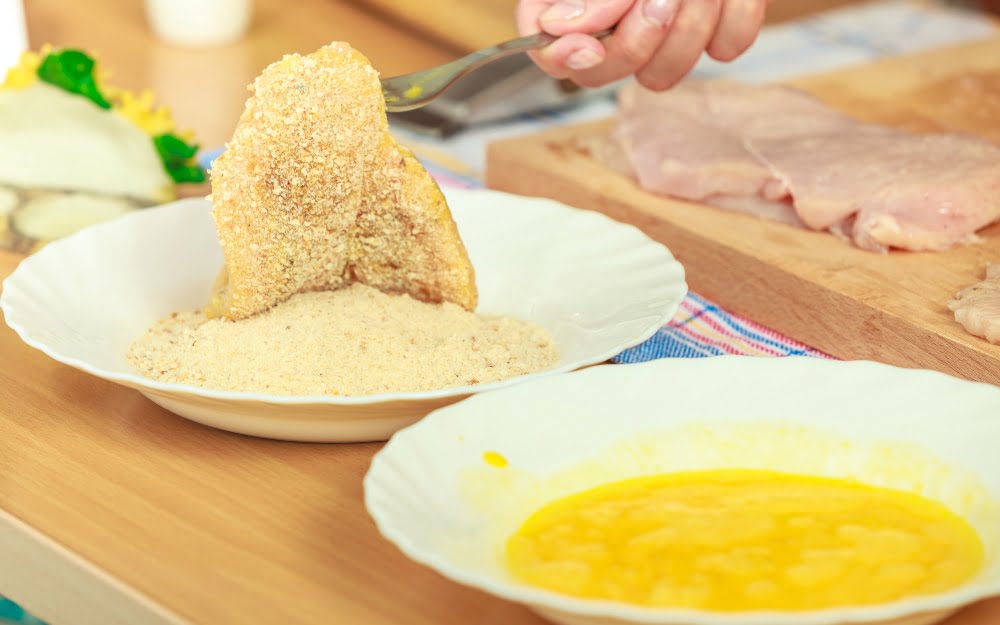
The last step in the preparation phase of your fried chicken is going to be breading it. You can “bread” your chicken with either seasoned flour, panko or breadcrumbs.
Simply take your wet chicken pieces and roll them around in a dish of your chosen outer layer. Press it on with your fingers if you need to, to make sure the chicken has an even coating all the way around each piece.
Best Oil To Use For Crispy Fried Chicken
For best results, you’ll want to choose an oil with a high smoking point. Typically these are your refined oils such as:
Once you’ve picked your chosen oil, the most important thing is to get your oil nice and hot before you start frying your chicken. The temperature of your oil should be around 350℉ before you add the chicken. Soggy, non crispy fried chicken is most commonly caused by oil that is not hot enough.
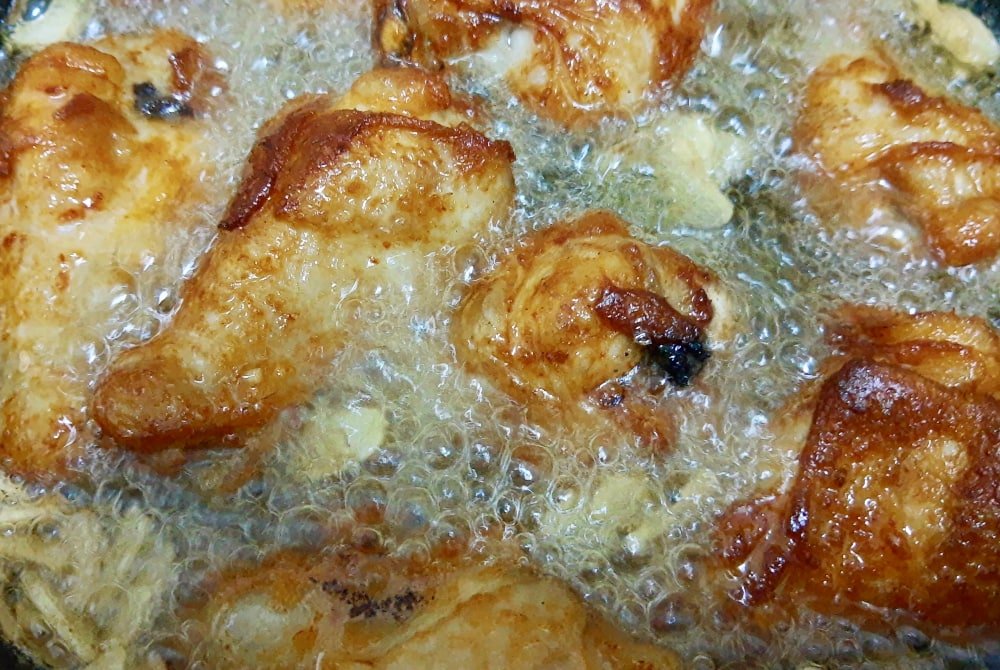
It’s also very important to make sure you fry your chicken to an internal temperature of 165℉ to make sure it’s cooked through properly.
The size of your chicken pieces will vary the cooking time but, typically, it will take about ten to fifteen minutes to fry a piece of chicken. You need to check your chicken based on the internal temperature to be absolutely sure.
Nobody wants to make people sick, and undercooked chicken does pose a safety risk. On the flip side, nobody wants their chicken overcooked either, so it’s important to check.
How To Keep Fried Chicken Crispy After Frying – While Frying Up The Next Batch
A common problem people have when trying to keep their fried chicken crispy is, how to keep the first batch of chicken crispy while frying up the next batch.
Usually, when cooking fried chicken, there will be too much chicken to fit it all into the oil at once – you don’t want to overload your pot or deep fryer, so you need to cook your chicken in batches.
Once you’ve cooked your first batch of chicken to perfection, you need to get it out of the cooking oil. This is the part where most people get it very wrong.
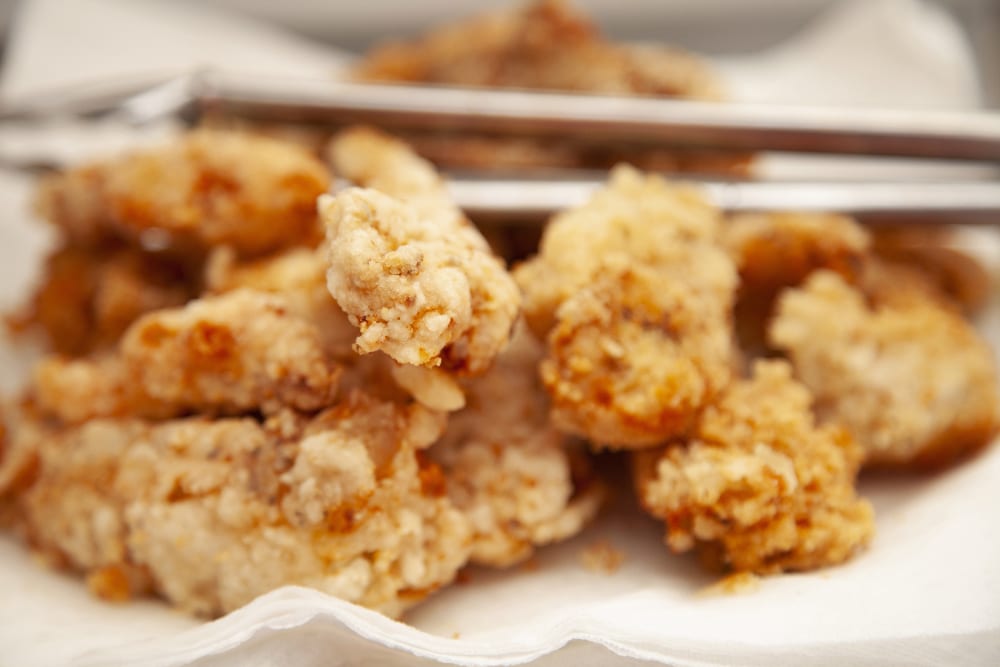
A lot of people will take the chicken out of the oil and place it on a paper towel or into a brown paper bag. The (misguided) thinking here is that this will absorb the excess oil which will keep the chicken crispy.
What this actually does, however, is it allows steam to collect under the chicken which, in turn actually makes it soggy.
But, don’t worry, there’s a simple way to prevent this – the humble cooling rack! Placing your fried chicken onto a cooling rack sitting inside a baking sheet (to catch any drips of oil) is a game changer for homemade fried chicken.
The cooling rack prevents any steam from collecting underneath the chicken and making it soggy. What’s more, you can keep your first batch of fried chicken warm this way by putting the baking sheet/rack combo into a warm oven (about 250℉) to keep it all heated while you finish the rest of your frying.
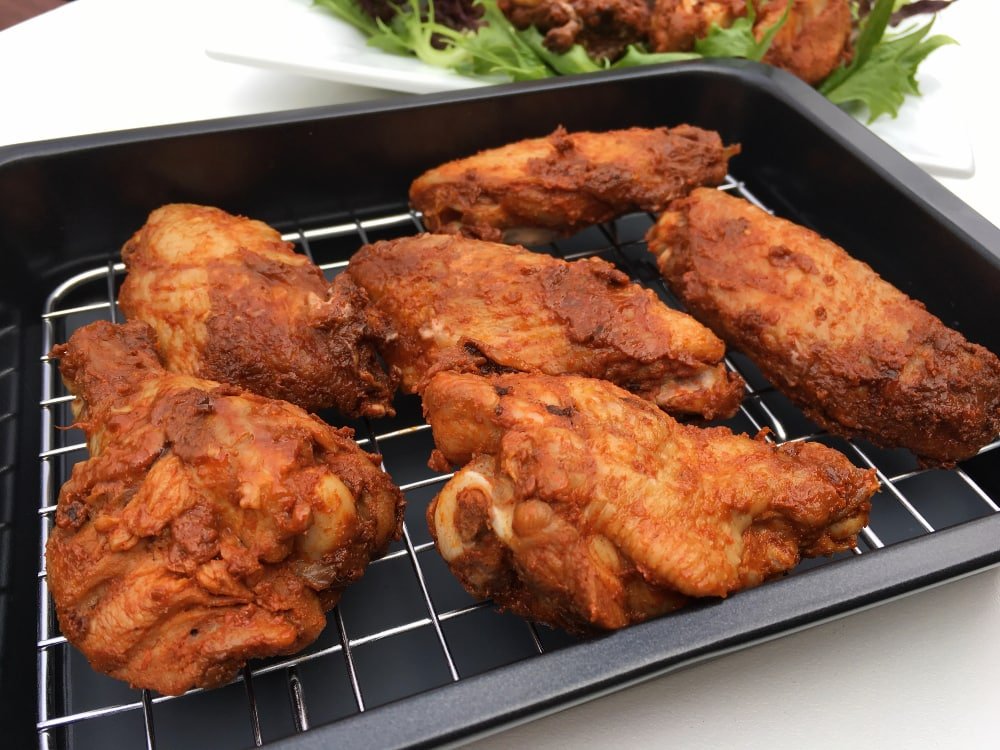
If you want an extra boost of crispiness, you can try turning your oven on to broil for a minute or two before removing your chicken to serve.
How To Keep Fried Chicken Crispy When Reheating
Another challenge often faced is how to keep fried chicken crispy when reheating it.
There are a few simple things you can do to keep your reheated fried chicken crispy.
Firstly, make sure any excess oil is removed before you store your chicken. Blot your fried chicken with a paper towel before putting it in the fridge.
Secondly, it’s important that your chicken is not still hot when you store it. Hot or warm chicken will create condensation as it cools in the fridge, which will make your chicken soggy. So, be sure to let the chicken cool completely before putting it in the refrigerator.
And, finally, you want to use dry heat to reheat your chicken. Do not use your microwave for this and, if you ignore my advice and decide to use the microwave, don’t wrap your chicken in paper towels.
The Best Way To Reheat Fried Chicken
To properly reheat your fried chicken, while still keeping its crispiness, you’ll want to let it come to room temperature before you start the heating process. Take it out of the fridge and leave it on the counter for half an hour or so to take away some of that refrigerated chill.
Use a cooling rack in a baking pan/cookie sheet/baking sheet, like we discussed before to allow for even heat circulation around all the chicken pieces, and heat your chicken in a 375℉ oven for about 15 – 20 minutes, or until the chicken is properly heated through.
Like before, for an extra boost of crispiness, switch your oven over to a low broil for a few minutes just before serving.
Keep in mind that you only want to reheat your chicken, not cook it all over again, so only keep the chicken in the oven as long as it takes to reheat it. You don’t want your chicken to become dry and overcooked.
So, there you have it, everything you need to know about how to keep your fried chicken crispy. It might seem a bit complex but really, all it takes is good preparation in properly dredging and crumbing your chicken and then choosing the right oil and getting it nice and hot.
As far as reheating goes, just remember that dry heat is what you need to keep your fried chicken crispy. You can also use your oven to keep your chicken warm when cooking multiple batches, as well as to reheat it the next day. Invest in a good cooling rack and tray set to make this process easy.
So, don’t be scared to make fried chicken at home – you really can keep it crispy and delicious if you follow the steps outlined here.


