How To Remove Burn Stains From A Microwave
Has your microwave suddenly started sparking and giving off a burning smell? This happened to me the other day. Completely out of the blue. I was melting some butter in a microwave safe bowl.
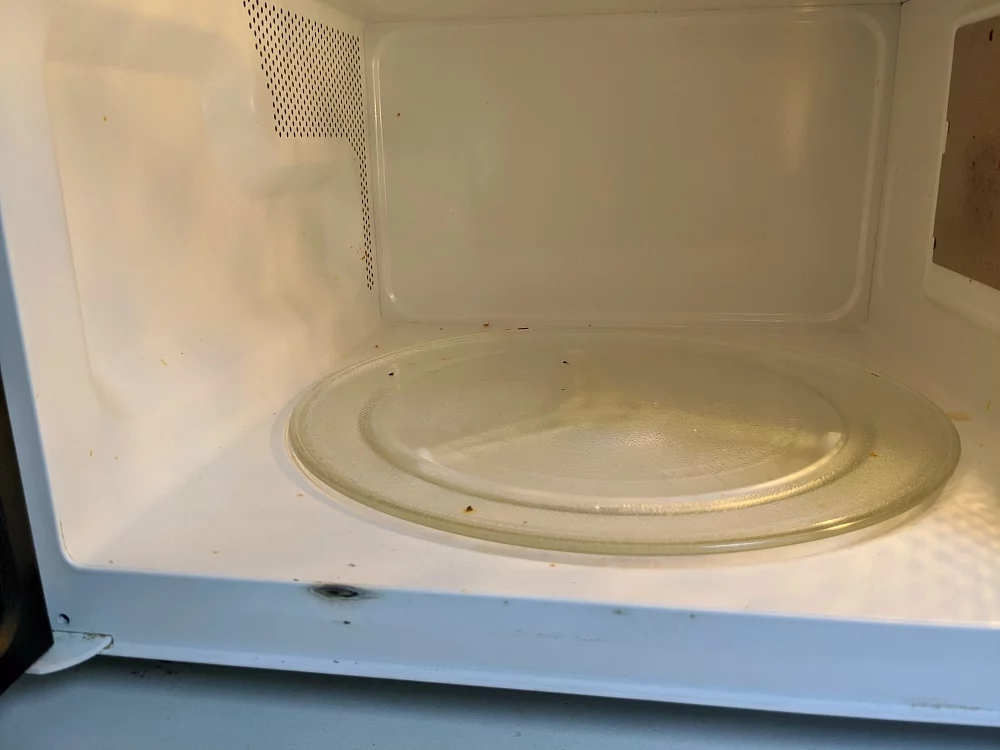
No metal or foil present, nothing that should have caused any problems but then I heard the buzzing, sparking sound that happens if you do accidentally put metal in a microwave. I quickly stopped the cooking and opened the microwave door to a burning smell and this ugly burn mark in the front frame and the door of the microwave.
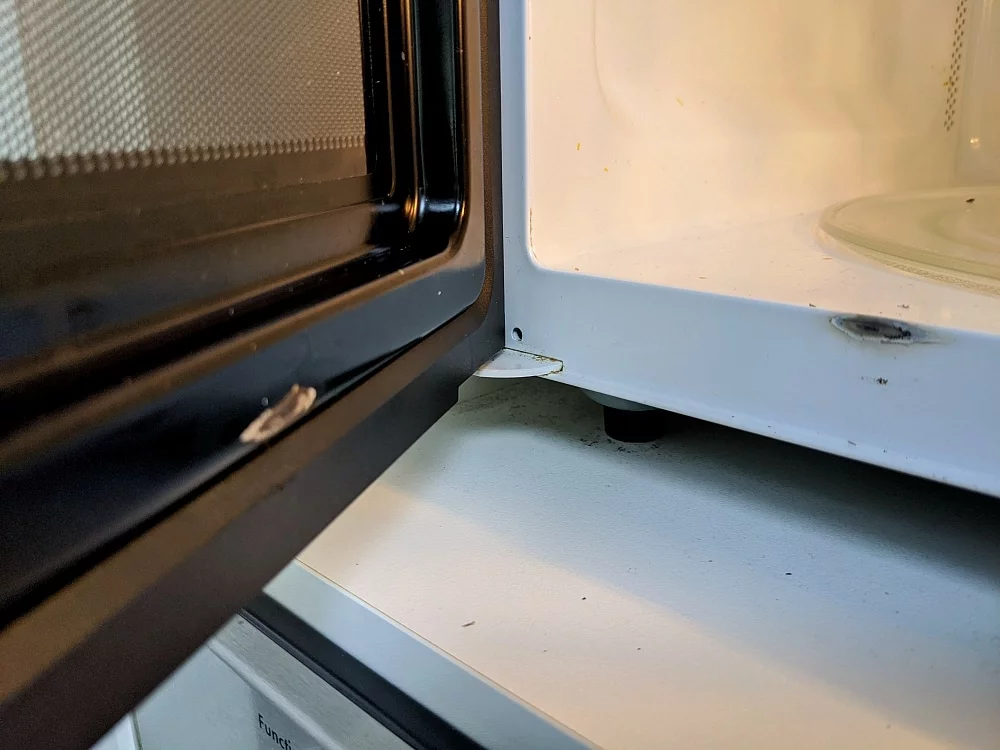

I don’t know what caused it, all I can think of is maybe some butter or other food somehow got stuck in the door and then burned when the microwave was on, causing the plastic to melt off the frame and onto the door and leaving an awful scorch mark and bad, burnt smell.
My first instinct was to throw it out and buy a new microwave. It seemed dangerous to keep using it in that state and microwaves aren’t hugely expensive. But, I’m actually quite fond of this particular microwave. I know its quirks and how to defrost and even how to set the clock and timer! I didn’t want to have to learn new skills on a new microwave. It also seemed wasteful to throw out what was, until that moment, a perfectly functioning machine.
So, instead of rushing out to buy a new microwave, I did some research and managed to remove the burn stains from my microwave and have a useful, functioning, non-sparking/arcing microwave back again. Here’s how I did it:
First of all clean the microwave to get rid of the burnt smell.
The best way to do this is with the vinegar and water method which is described in more detail here, but is basically microwaving a mixture of vinegar and water for a few minutes to create enough steam and condensation that your microwave is thoroughly wet.
This vinegar solution is very good at removing the burnt smell that can permeate the microwave.
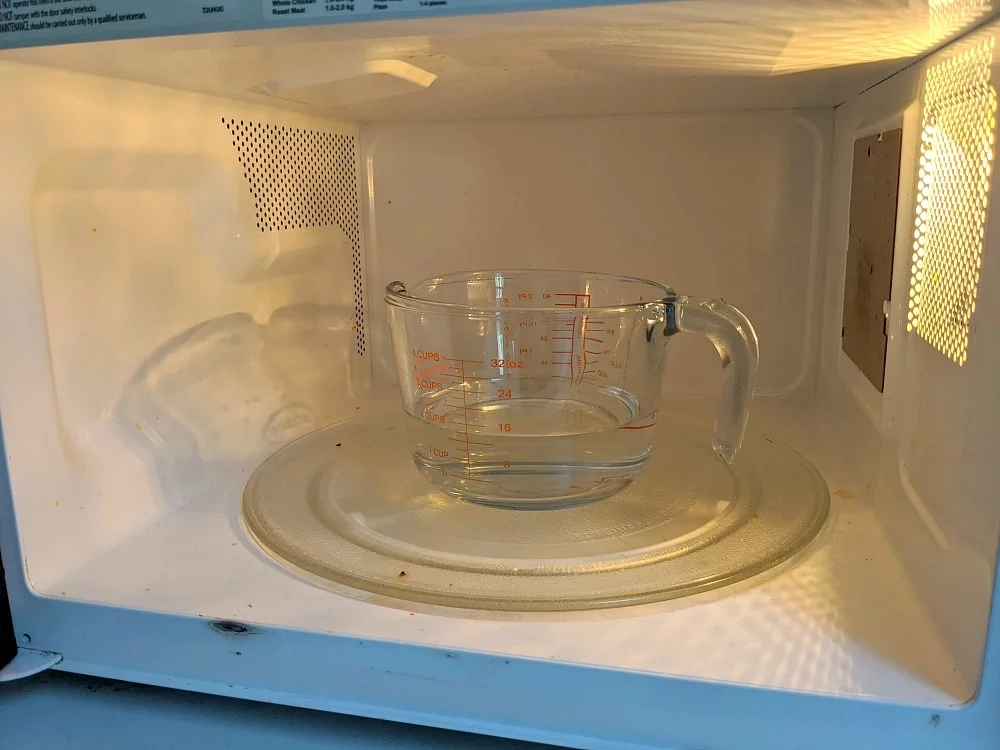

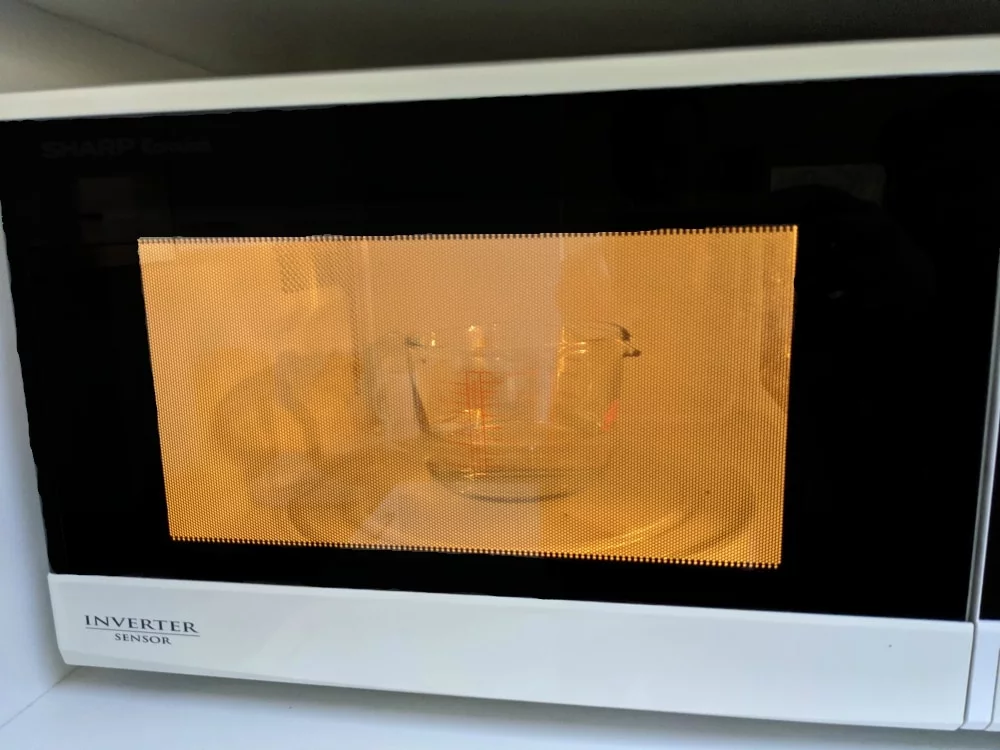

Once the microwave is nice and wet, wipe it all down with a soft cloth – bonus – your whole microwave will now be sparkling clean!
Next use some fine sandpaper to gently clean up the area around the scorch marks. For this I actually used a cleaning sponge that is mildly abrasive and it worked really well. This is the sponge I used.


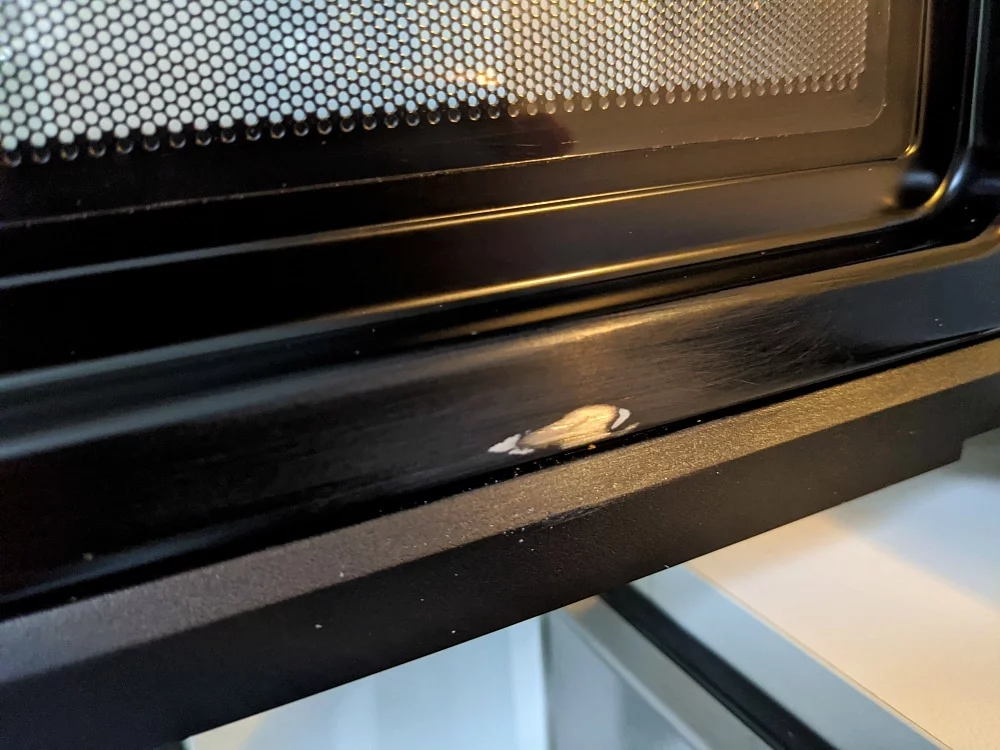
Then I found this product at my local hardware store.

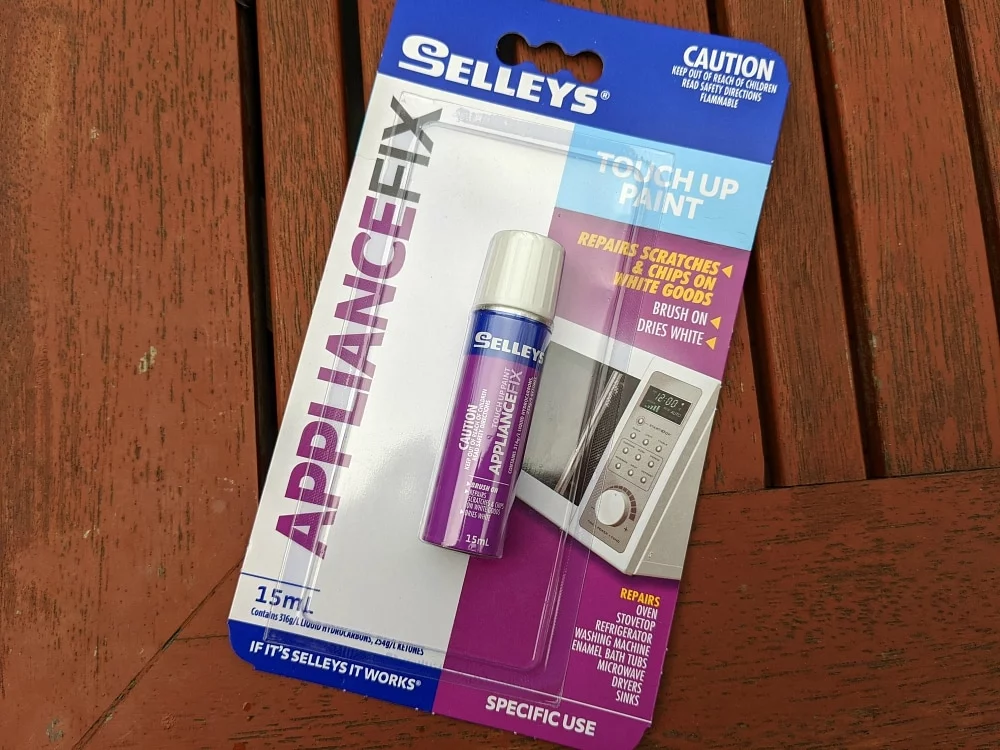
If you’re looking to buy something online, this product looks similar.

Once the scorched area is clean and dry it’s a simple matter of painting on the touch up paint.

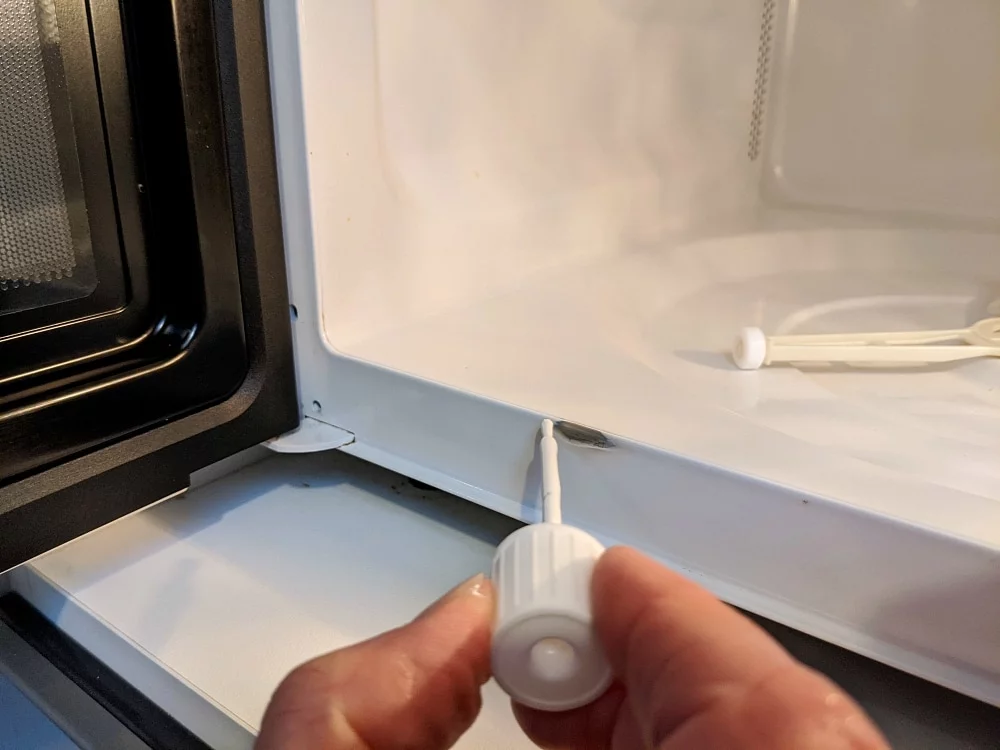

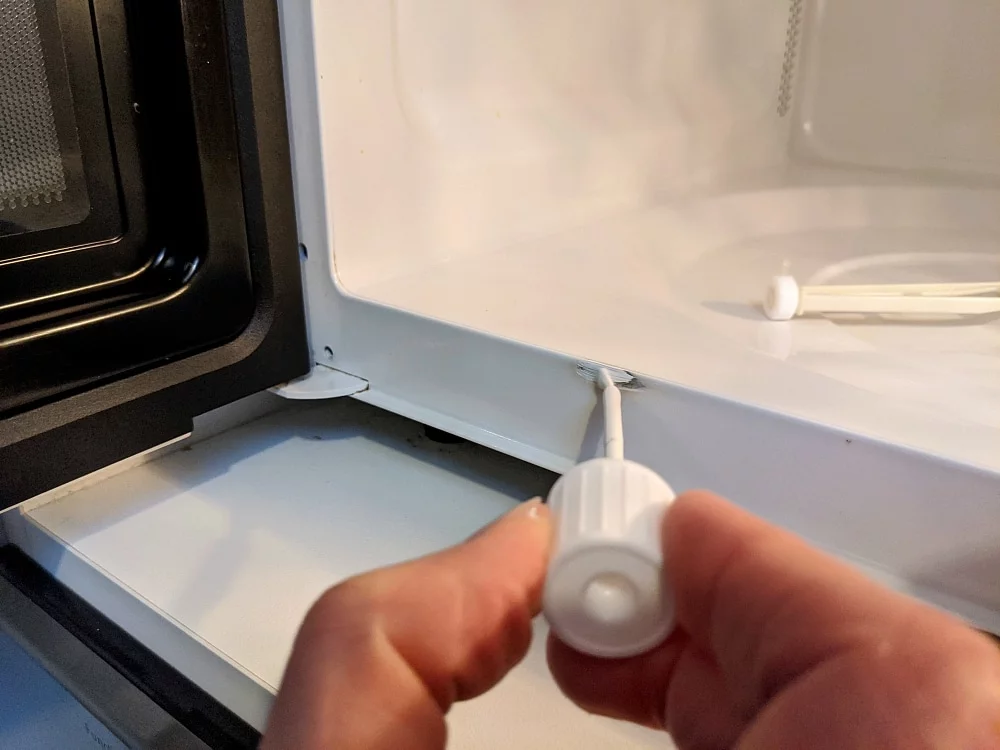

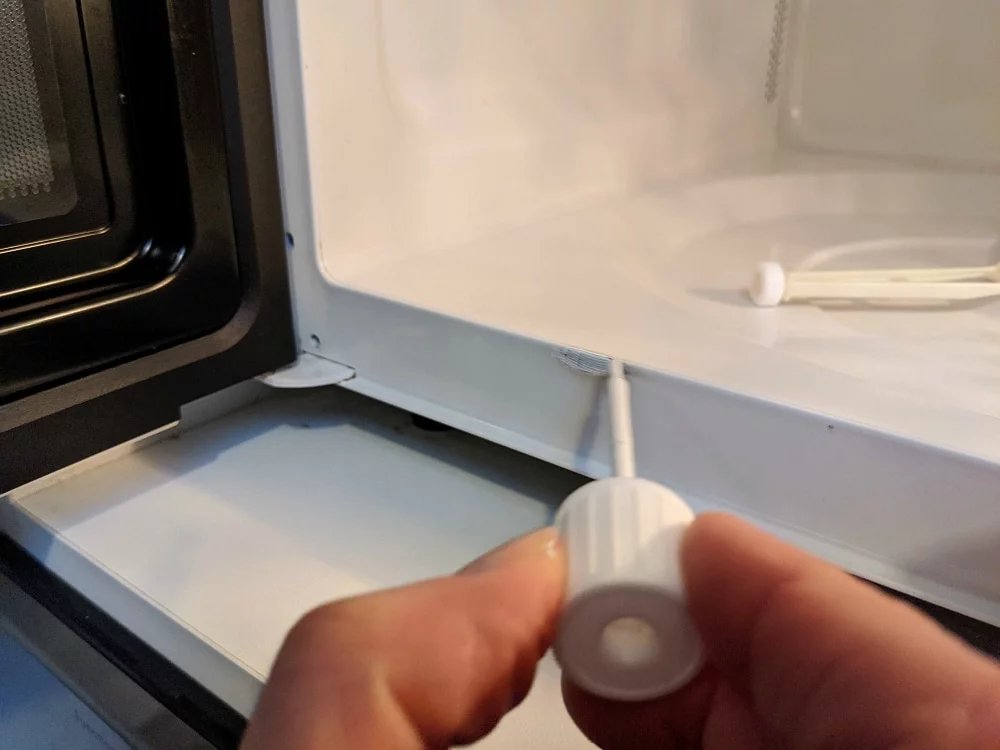
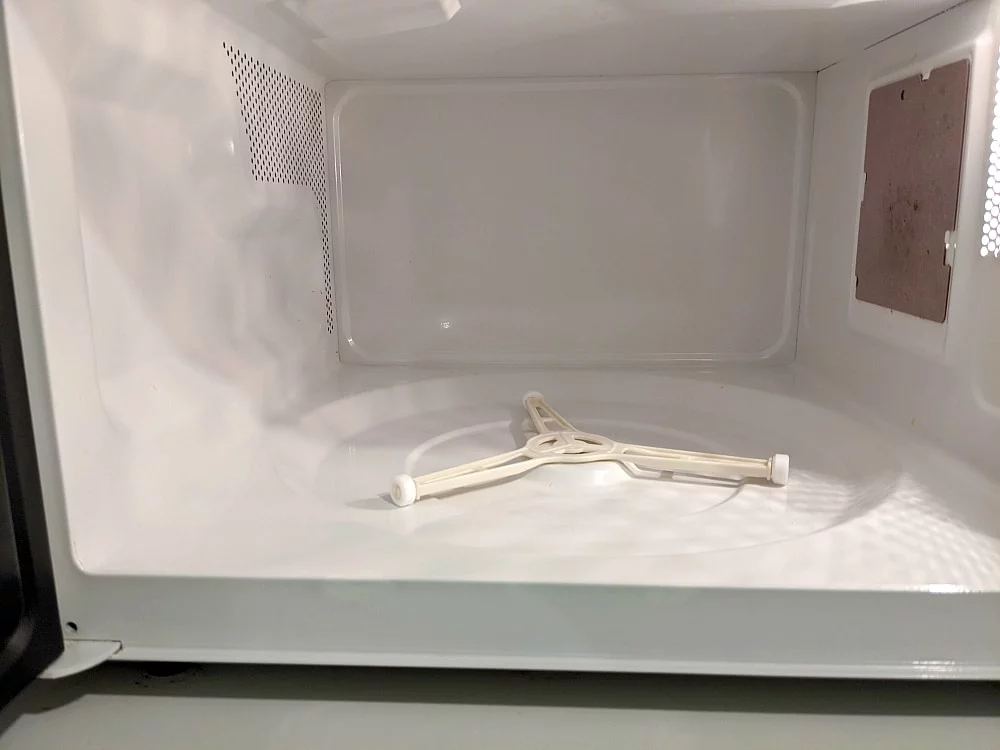
Leave it to dry and your microwave should come out looking (almost) as good as new!

Unfortunately my microwave burn was also on the door which, in my case, happens to be black. I did exactly the same thing but, of course, the touch up paint was white so now my microwave door looks as though someone has painted some liquid paper on it!

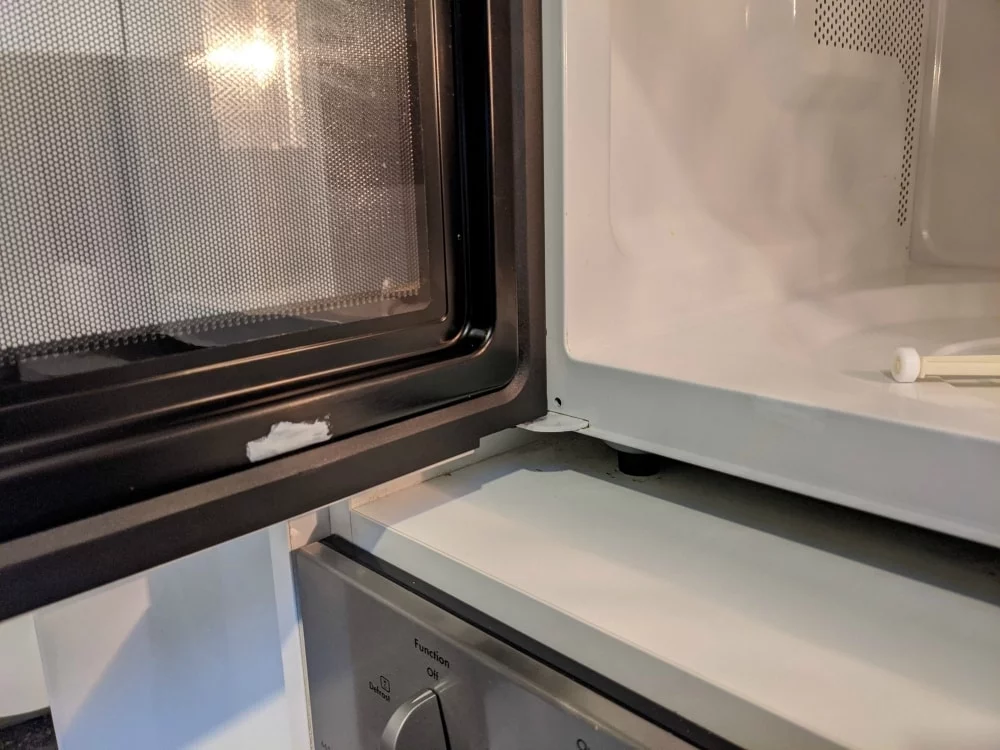
No doubt I probably could have hunted around and maybe found some black appliance touch up paint. But, I wanted to use my microwave and not wait, so I figured a functioning microwave with a spot of white on the inside of the door was better than a non-functioning microwave with a bad scorch mark on it.
I’m pretty proud of how it all turned out – I went from thinking I would have to buy a new microwave, to cleaning and repairing the burn marks in one afternoon and now I have a fully functioning microwave again.
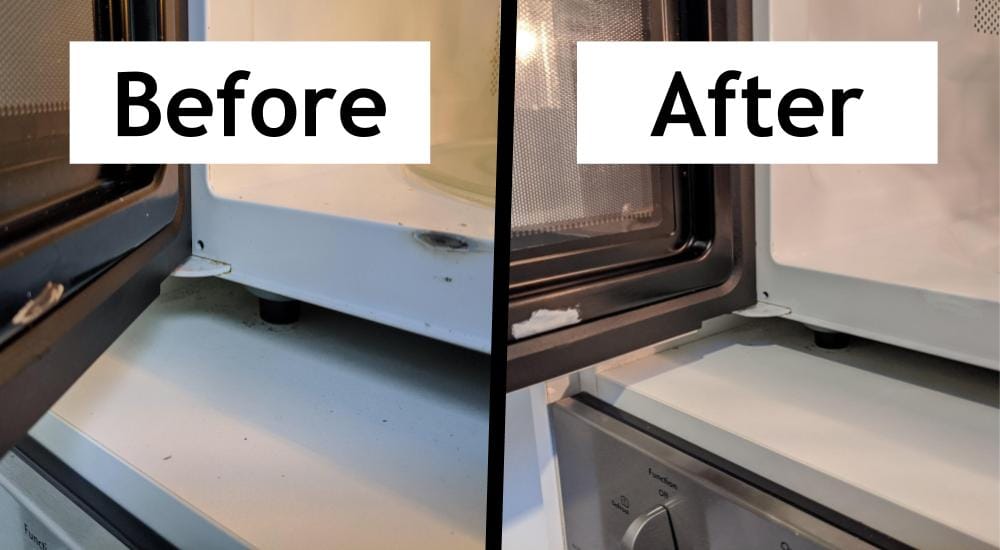
It went from this:

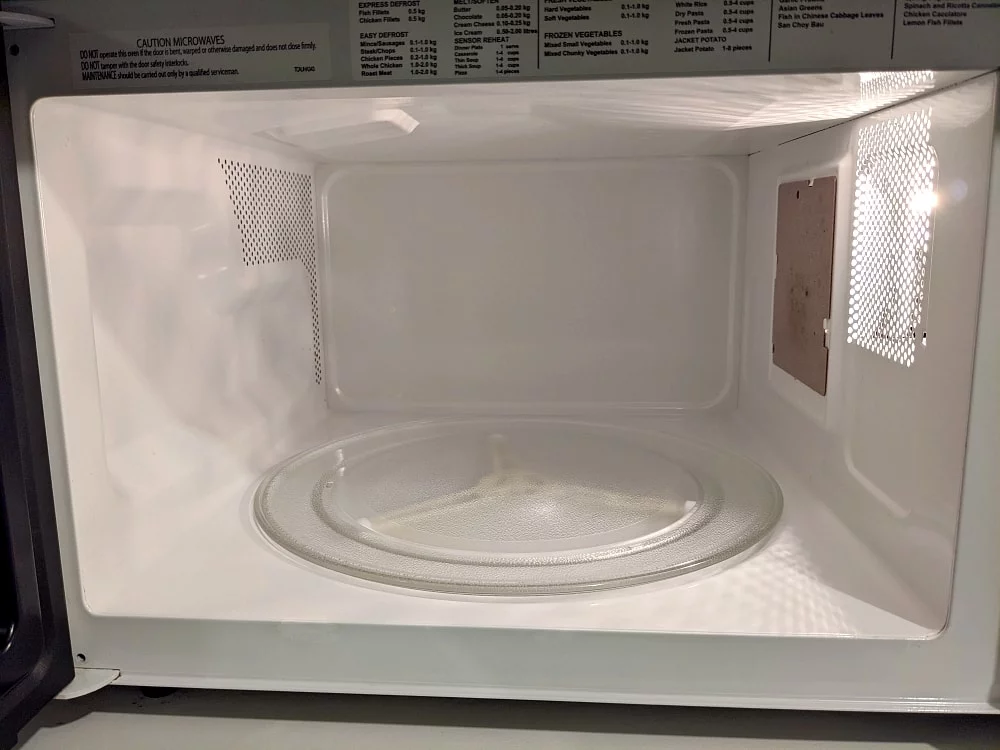
To this:

So, if you’ve got burnt or scorched marks in your microwave, get yourself some appliance touch up paint, give your microwave a good clean and then touch up those troubled spots. Your microwave will look and function like new again!

