The Best Way To Cook Chicken Wings In The Oven
If you’re looking for the best way to cook chicken wings in the oven, you’ve come to the right place. Oven baked chicken wings are a much healthier option than deep fried chicken wings, and it’s easier, and creates less mess, when you bake them in the oven rather than frying them.
Of course you could just put a bunch of chicken wings onto an oven tray and cook them in the oven. But, the best way to cook chicken wings in the oven is to use a baking rack, or a cooling rack that is suitable for oven use.
By baking your wings on a rack you’ll elevate them out of the fat that drips off them, resulting in a tastier and crispier chicken wing. Also, as an added bonus, you’re leaving some of that fat behind in the baking tray, so oven baking wings on a cooling/baking rack is an even healthier way to bake your chicken wings in the oven.
Baking Instructions For Chicken Wings
It’s a simple process, let’s go through it step by step.
Step 1:Preheat your oven to 400℉ or 200℃
Step 2:Prepare your baking tray. I like to use a half sheet pan so there’s plenty of space to spread out the chicken wings.Baking marinated chicken wings is a messy business so I like to cover my baking pan with aluminum foil. It makes the clean up process at the other end much easier.
If you’re not a fan of baking with aluminum, you could also use baking or parchment paper or even a silicone baking mat. Anything to line the pan and catch the drips of fat and marinade from the chicken will make cleaning the pan much easier afterwards.
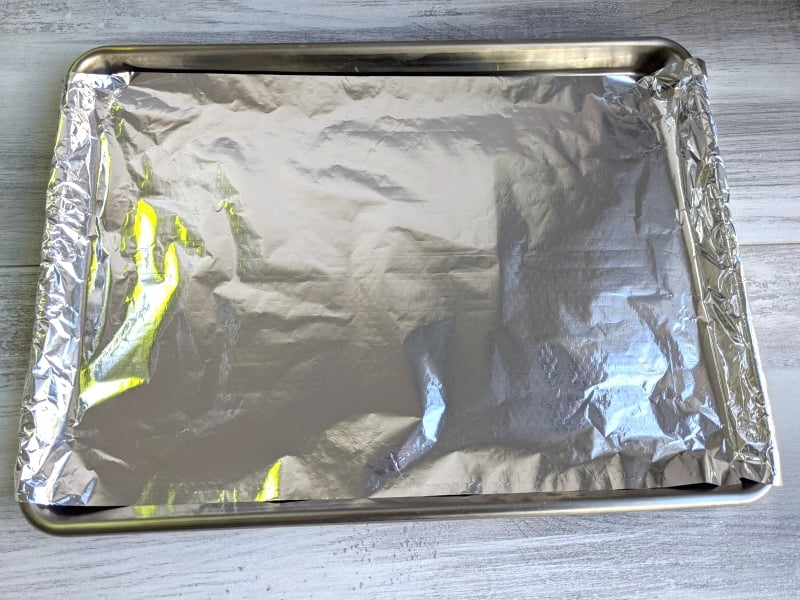

Step 3:Place a cooling rack or baking rack into the baking pan.
It’s important that the rack you use is oven safe and made from stainless steel. The best stainless steel cooling/baking rack that I have found for this purpose is the Checkered Chef Cooling Rack. It fits my half sheet pan perfectly and always washes up really well at the end.
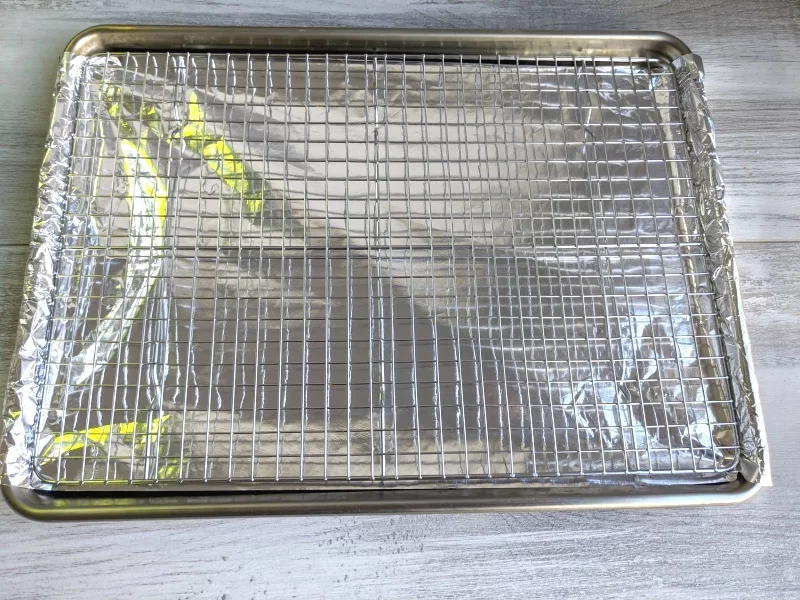

Step 4:Grease the rack.
This step is often overlooked, but if you don’t want your chicken wings stuck to the baking rack it’s a very important step.
There are two ways you can easily grease the baking rack. The easiest option is to spray it with cooking spray or olive oil spray.
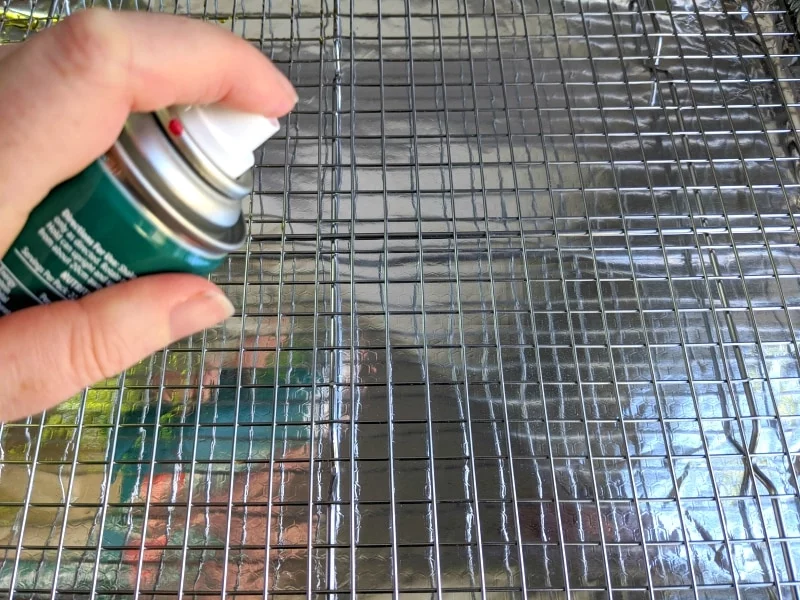

If you use this method just be sure to really cover every part of the rack and give it all a good thorough coating.The other way is to grease the baking rack by painting on olive oil (or any other oil or even butter if you prefer) with a pastry brush.


Again, try to make sure you cover the entire surface of the baking rack with the oil.
Step 5:Add your chicken wings to the baking rack.
You can use, marinated, crumbed, homemade, store bought or any type of wings for this method.
You can use whole wings if you prefer. I, personally, like to separate the wings before marinating and cooking them. I just think it looks tidier and makes them easier (and neater) to eat.
Whatever sort of wings you’re using, make sure you give them as much space as possible. If you’re cooking for a crowd it would be better to use two trays and racks rather than cramming them all in together. You want them evenly spread out so that they cook evenly.
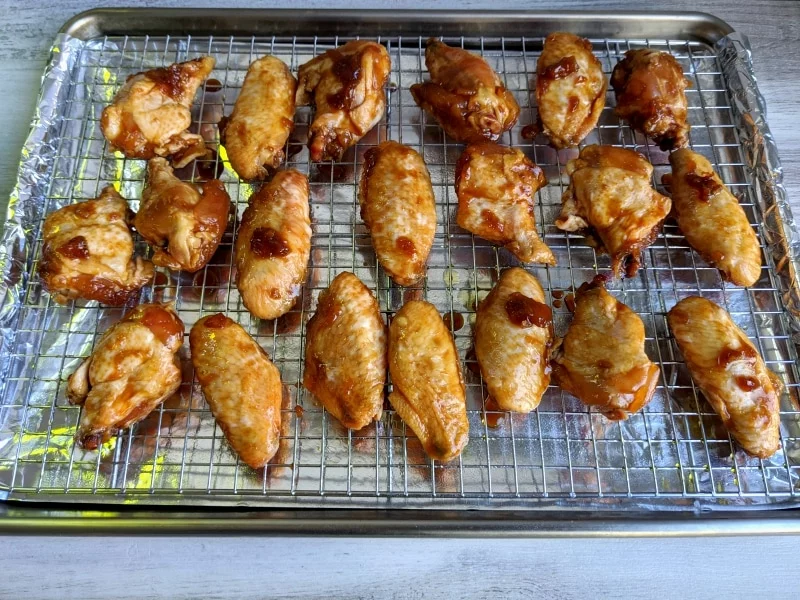

Step 6:This step is optional. If your marinade already has a lot of oil in it you probably wouldn’t need to do this step. But, in this instance, the marinade I’m using doesn’t have a lot of oil in it, so I decided to add some extra oil to the wings before putting them in the oven.
Again, you can do this two ways – either with some spray on oil or by painting on some oil with a pastry brush.
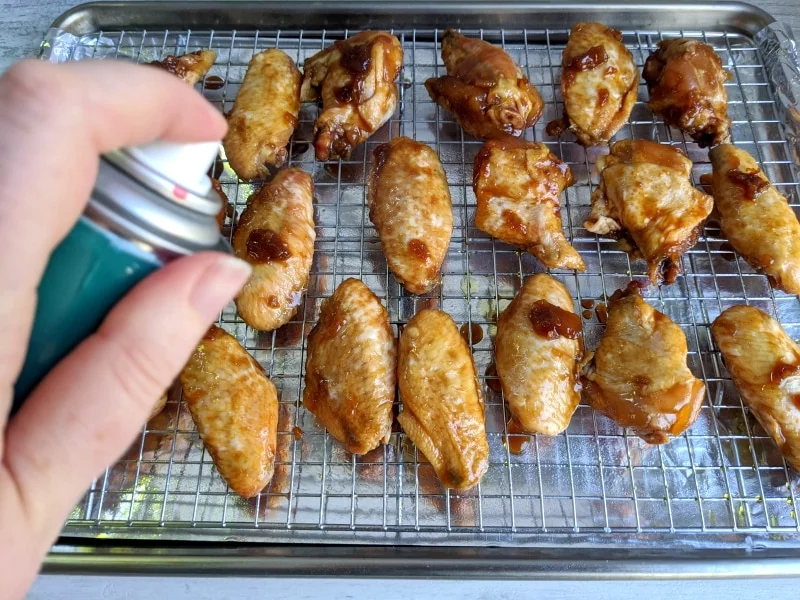

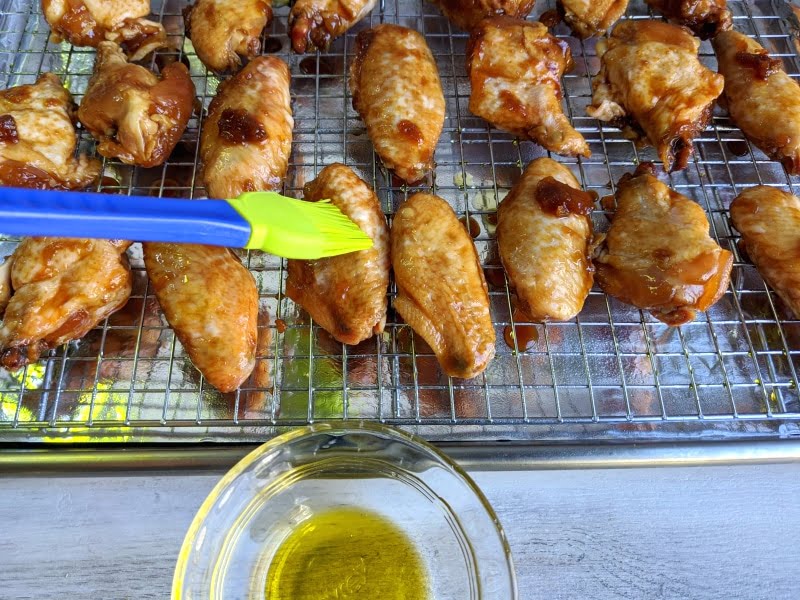

Step 7:Put them in the oven.

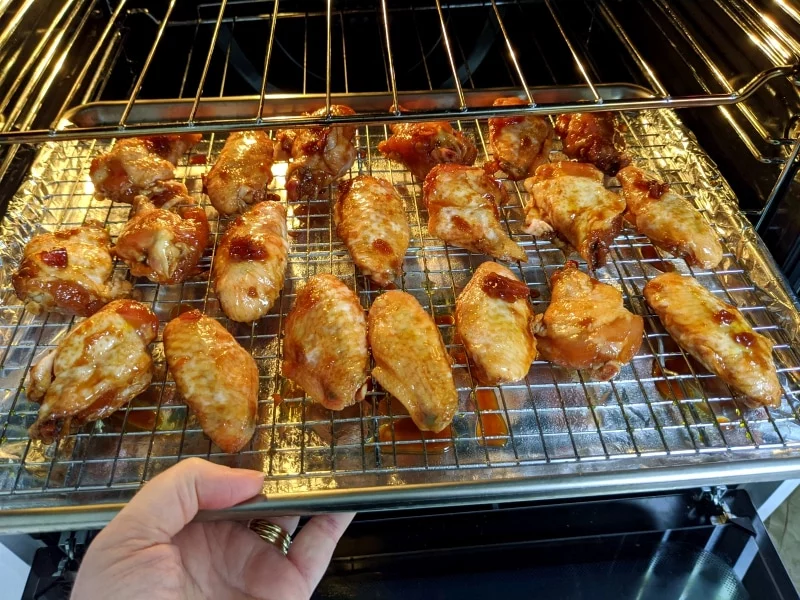
Cook for 40-45 minutes.
Personal preference kicks in a little here – you can turn them over half way through cooking if you wish, although it is not essential to do this as we have the wings elevated on the rack, so the hot air from the oven is able to get all around the chicken pieces.
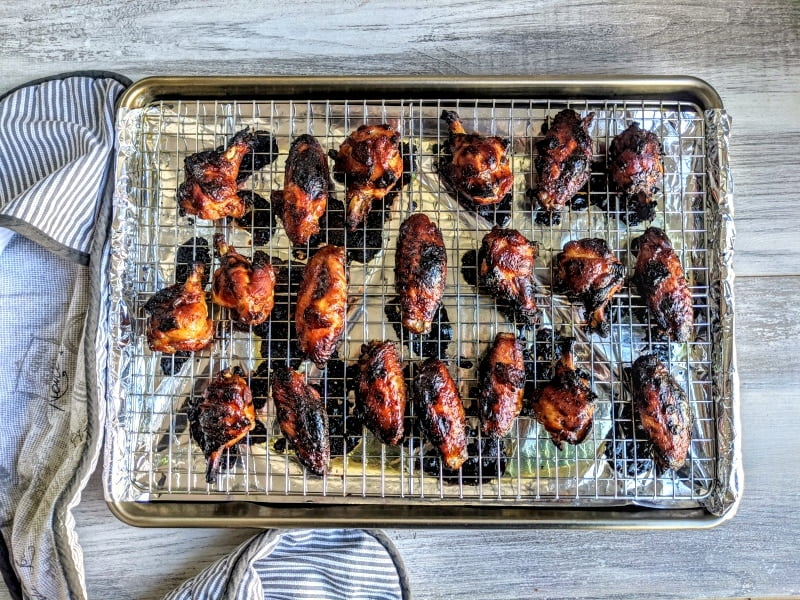
Step 8:Remove from the oven when cooked to your liking. I like all of my meat, chicken included, cooked “very well done” so these wings stayed in for the full 45 minutes.
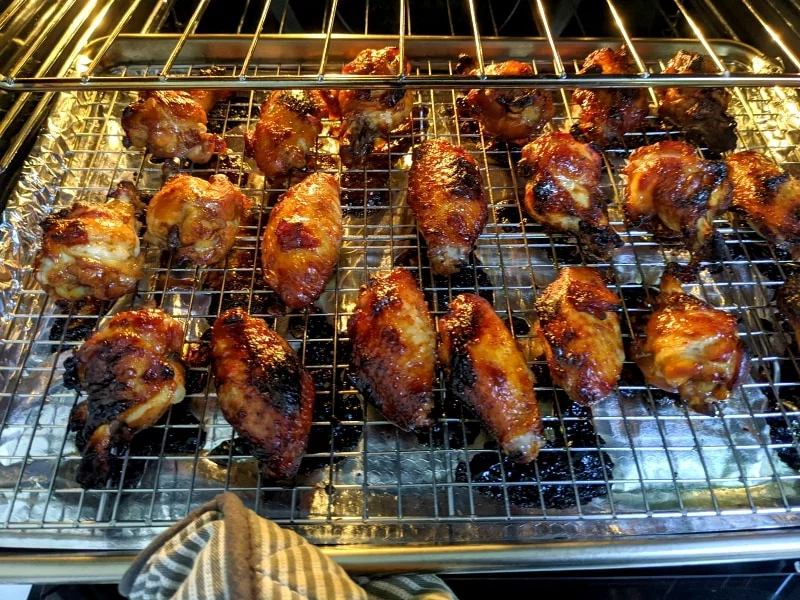

Also, the marinade I used here had brown sugar and pineapple juice in it. Sweet foods such as sugar, honey and juices are more likely to darken quickly giving that charred, black appearance. But, don’t worry – they taste amazing!
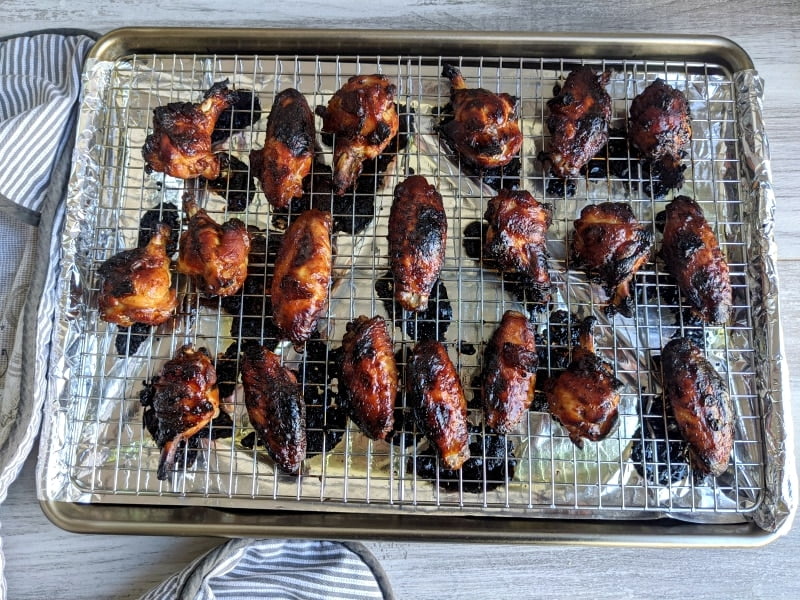

Step 9:Serve as is or with your favorite dipping sauce.
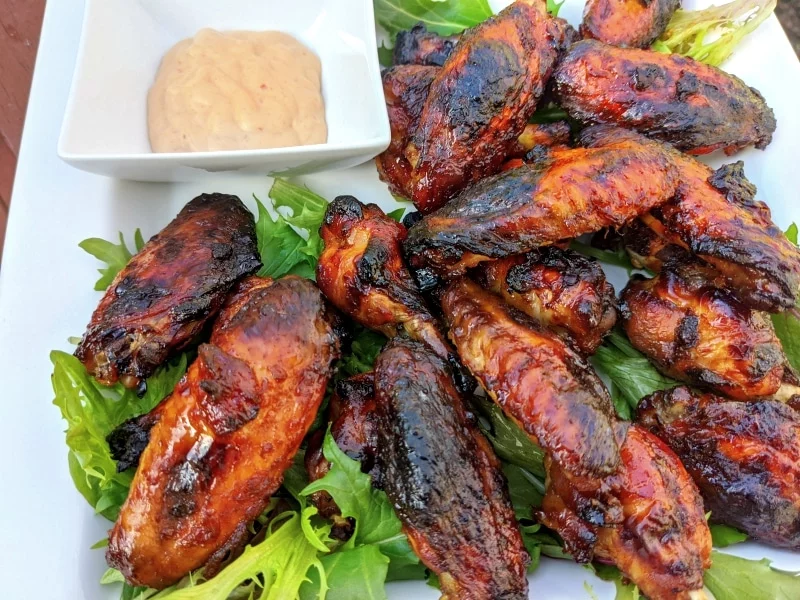

Step 10:Easy Clean Up!
Whether we want to or not, somebody has to do the dishes! One of the biggest reasons why this is truly the best way to cook chicken wings is that it’s so easy to clean up after.
Just take a look at how dirty the pan and rack get when baking chicken wings this way.
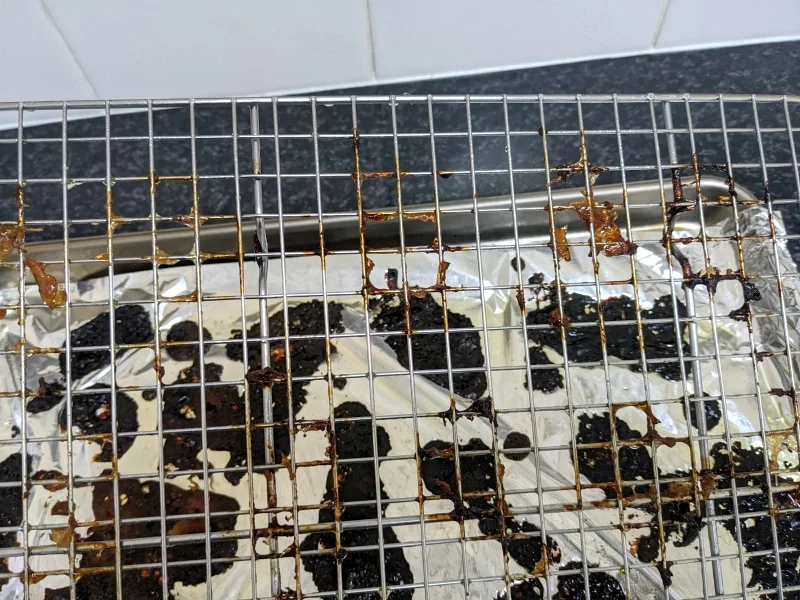


But, never fear, thanks to our planning and preparation, cleaning this mess up is easy!Remove any large pieces of chicken or marinade still stuck to the rack and then simply put it in the dishwasher. It will come out sparkling clean and like new again! Believe me, I’ve done it many times.
Worst case scenario you might find one or two little corners of the rack that need a little scrubbing brush to finish them off but, honestly, the Checkered Chef Cooling Rack usually comes out of the dishwasher sparkling clean and looking like it’s brand new again.As for the baking pan – simply pull off the aluminum foil and your shiny clean pan will be waiting for you underneath.
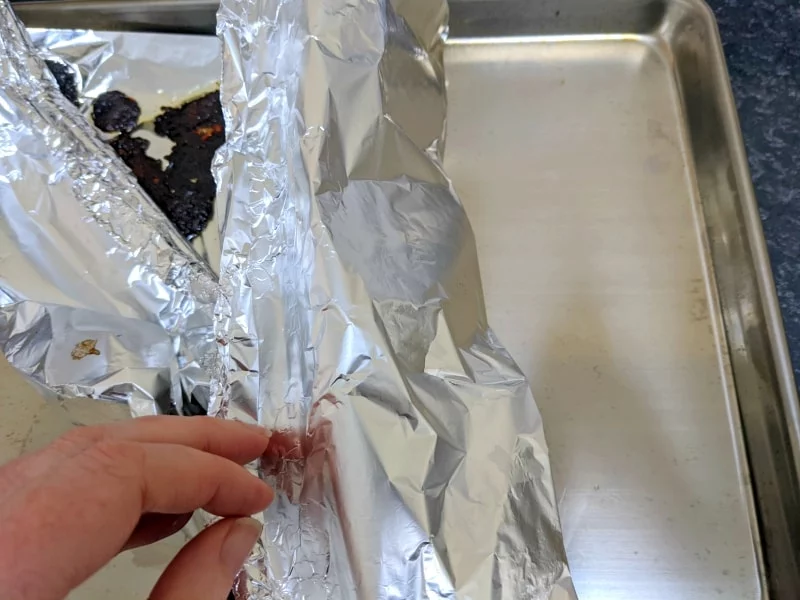

Now, I have occasionally had a small issue in doing this where a small part of the aluminum foil will sometimes get stuck to the baking tray. Don’t panic if this happens! Just add a squirt of washing up liquid and then pour some boiling water from the kettle over the top of the foil where it is stuck and it will lift right off.So, there you have it – the best way to cook chicken wings in the oven. It’s quick, it’s easy, it’s a healthier option than frying and it’s so easy to clean up the mess afterwards.You can use any marinade you’d like for this method but, if you’d like to know the recipe for the marinade I used for these instructions click here.

